Tuesday, January 24, 2012

MailArt 101 Class-Woo Hoo!

Finally! I am taking the plunge and teaching a mailart class on February 4 at 1:00pm at The Crop Shop/Creation Destination in Rockland, MA. Of course, I haven't called to see if anyone has signed up yet...I could end up playing by myself...

I have been busy making class samples, putting together goodie packages, and writing a Mailart Zine to use as my handout.

The pictures below are some samples of my "Layers of Flavor" technique that I will be teaching along with a ton of basic mailart info. I am so excited to get more people doing mailart!


First layer of paint wash on random paper background.


Adding another paint wash, more paper bits, found stamps, and a vintage print block.


A different piece after many many layers...


Come join me!!! It's a bargain at only $15.00 for 2 hours of fun and inspiration! Visit their site at http://www.thecropshop.net/?cat=7 . My class is the second one in the list.

Thursday, January 13, 2011

Note to Self

As I was going through some of my 15,000 pictures on my computer tonight I again thought that I really should be using my photos in my journals, etc. It also crossed my mind that I really really really need to back them up to the terabyte of external hard drive that I bought over a year ago...yes, it is still in the box. And yes, I do feel like I'm living on the edge by not having back-ups.

Both of these pictures were taken during our trip to the White Mountains of New Hampshire this summer. The problem I find with taking digital photos is that I take them, upload them to the computer, and leave them there without looking at them again.


Sunday, November 28, 2010

Mailbox Labels


mailbox labels 3
Originally uploaded by FarStarr
I love mailart, vintage stuff, and photography. I finally found a way to combine them all!

This is the first set of mailbox mailing labels and envelope seals that I made from a photo of a little tin mailbox. Now I'm working on a set of mailing labels made from some of my vintage ephemera. I can't wait to share those with you too!
These are available in my Etsy shop.

Sunday, October 24, 2010

My Round Robin Mailart Zine Front

The Round Robin Mailart Zine Project is in full swing. Seven of the ten players have sent their booklets out into the world. This is the "postcard" side of mine that is traveling to TN.

I created the page with a 1920's teacher worksheet, magazine fish, deco tape, stamp selvedges, vintage stamps, inktense pencils, and Caran D'ache watercolor pencils.

Sunday, September 19, 2010

Mail Art Round Robin Zine

Hi All, Thanks for coming. I decided to use my blog to host the ZMACS Round Robin Mailart Zine Project so everyone could actually see what my intentions are for the swap. The examples below are the two test pieces that I mailed from Massachusetts to California and The UK. They both made it with no problems so I definitely think this swap is doable. I'm sorry, I loaded the pictures in backwards order (one of these days I'll do it right the first time). :)


I did a collage on one side and used the other side for a note and the address.


To mail the fat postcard I put a piece of packing tape on each of the three open sides.


I took five pages of 110 lb. 8 1/2 x 11 cardstock, folded them in half and sewed them together down the middle.


Saturday, September 18, 2010

Supersecret Mailart Zine Project

I am putting together a round robin mailart zine project on www.swap-bot.com in the "Zines, Mailart, and Other Cool Stuff" (ZMACS) group and this was the first prototype.

The idea is to sew pages together down the middle, fold them in half, tape the booklet shut, and treat it like a fat postcard. The next person cuts the book open, flips open your page and does the same process on a new page.

At the end of the swap, each person will have their own zine of mailart.

This one went from MA to CA with no problems. It is now going to make a stop in MD before coming home to MA.

Tuesday, April 20, 2010

Creating Fabric with SuperSolvy

I had promised some Flickr friends that I would post a tutorial for making fabric with SuperSolvy ages ago...I finally did it!

Step one is to cut 2 sheets of SuperSolvy (the dissolvable interfacing available at places like Joann's). I found that about 12" by 12" is a nice manageable size.

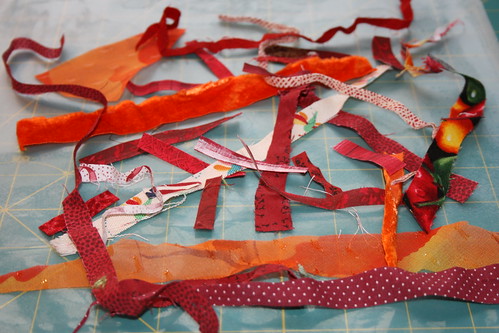
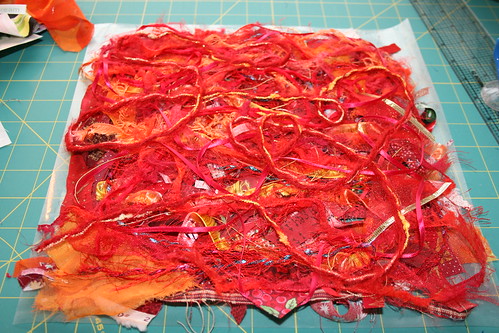
Step Two: Cover one sheet of SS with lots of fabric bits, yarn, lint, wool roving, silk cocoons, and any other little fabricy bits you might have.
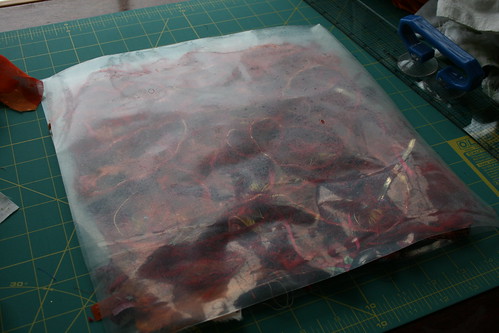
Step Three: Once you have covered your first piece of SS with fabric bits, cover it with the second piece of SS and pin it well.


I'm not sure how this picture got out of order...oh well!


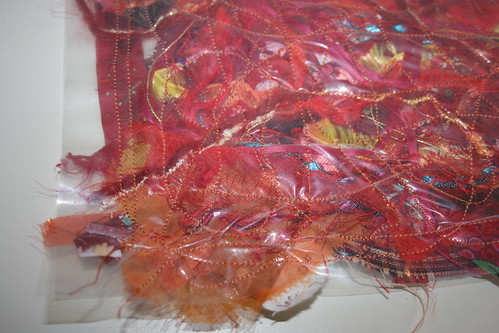
Step Four: Take your sewing machine for a drive!! Sew all over the sandwich making sure to catch all the bits in your stitching.


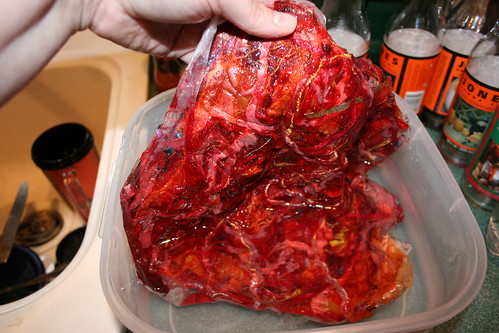
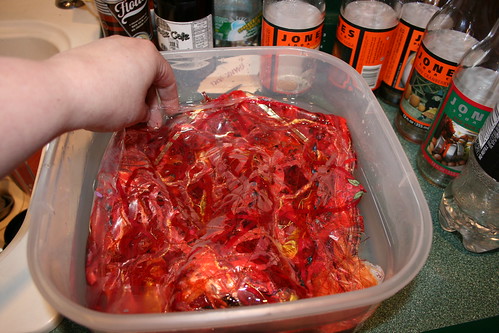
Step Five: Following the directions on the SuperSolvy package dissolve away the stabilizer. I like to do this in a seperate container so I can dump the water outside. It isn't good to dump your gooey water down the drain.


Keep swishing it around in your warm water until all the sticky stuff is gone.


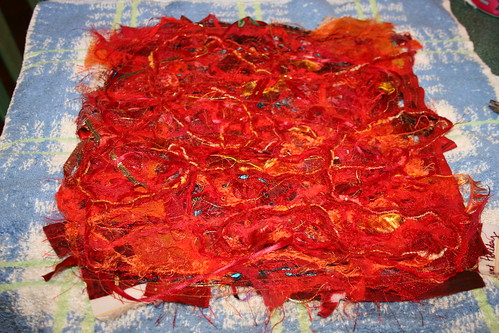
Step Six: Lay your new fabulous handmade fabric out on a kitchen towel to dry.


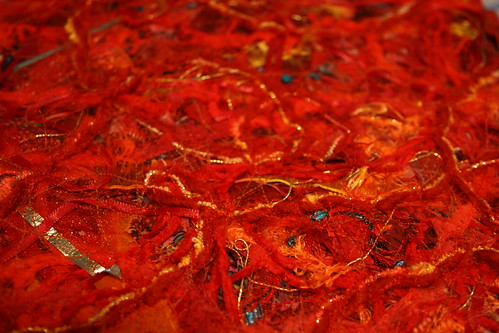
Voila! Once it dries it is ready to be used in any of your wonderful projects. I have used my own fabric to make postcards, ATC's, and a purse.
Have fun!