Step one is to cut 2 sheets of SuperSolvy (the dissolvable interfacing available at places like Joann's). I found that about 12" by 12" is a nice manageable size.
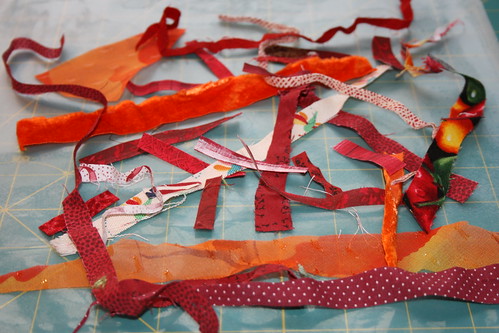 Step Two: Cover one sheet of SS with lots of fabric bits, yarn, lint, wool roving, silk cocoons, and any other little fabricy bits you might have.
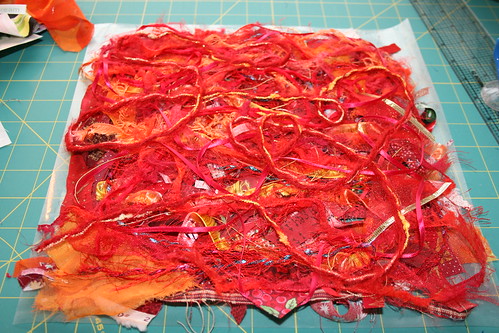 Step Three: Once you have covered your first piece of SS with fabric bits, cover it with the second piece of SS and pin it well.
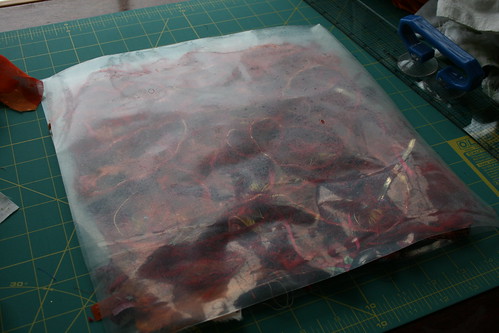
I'm not sure how this picture got out of order...oh well!

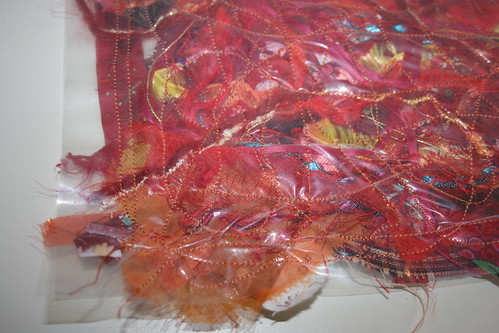
Step Four: Take your sewing machine for a drive!! Sew all over the sandwich making sure to catch all the bits in your stitching.

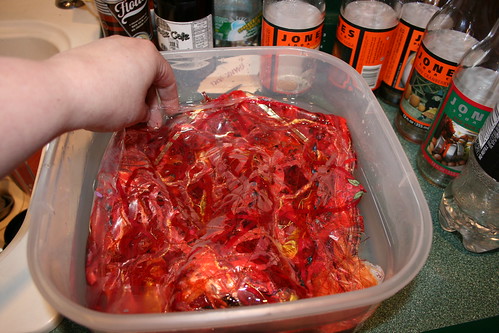
Step Five: Following the directions on the SuperSolvy package dissolve away the stabilizer. I like to do this in a seperate container so I can dump the water outside. It isn't good to dump your gooey water down the drain.

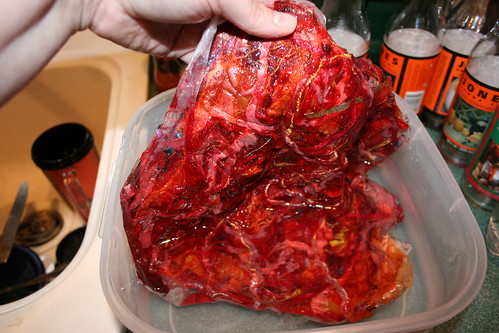
Keep swishing it around in your warm water until all the sticky stuff is gone.
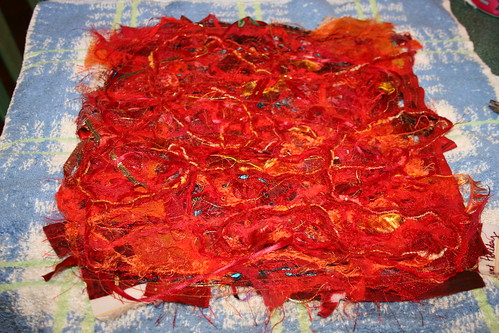
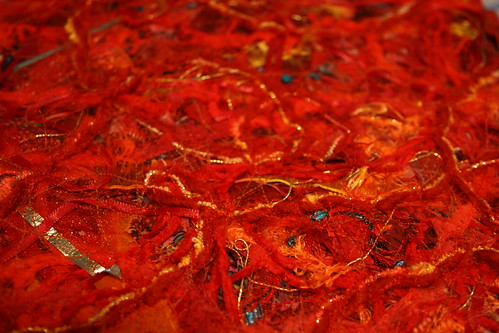
Step Six: Lay your new fabulous handmade fabric out on a kitchen towel to dry.
Voila! Once it dries it is ready to be used in any of your wonderful projects. I have used my own fabric to make postcards, ATC's, and a purse.
Have fun!

Just checking in. I bought the ss when we were in the ATC group. Of course, I never used it. Now I will have to make a fun mess. I hope all is well with you. xxoo Susan
ReplyDeleteCool. I'll have to get some supersolvy and try this.
ReplyDeleteNever heard of supersolvy. very cool and I have lots of fabric scraps from a recent rush of sewing for a holiday market. See you on MailArt365
ReplyDeleteYeehah! I'm off to give it a go...thanks.
ReplyDelete