Showing posts with label postcard. Show all posts

Monday, June 17, 2013

Storing Mail Art

In honor of MMSA's Mailart Monday blog hop I'm dusting off the old blog...woohoo!

People are always asking how we store our mailart. Short of the classic "in a box" or "in a pile" methods, I do have a couple of other suggestions.

I am a thrift store junkie and you never know what will cross your path if you just keep looking. This wire rack was for Christmas cards I think. A quick spray of chartreuse spray paint...voila! It fits perfectly on the side of a bookcase.


I've also punched a hole in one corner of a bunch of cards and threaded them on metal rings. The hubby built this rack on the back of a door with wire shelving and I use shower curtain hooks to hold the rings. This system also works to hold zip-lock bags of collage bits.


My last storage suggestion for today hangs on the wall in our guest room. We bought a full sheet of rigid insulation at our local home improvement store. (I prefer the blue one over the orange one...) I had a full roll of this Waverly decorator fabric that we had bought super-cheap. We wrapped the fabric around the rigid insulation and secured it to the wall with brass screws and grommets. Simple pushpins hold the cards onto the board. I haven't filled this one up, but I should really spend a day and hang up some of my mailart that is currently in boxes....


Sunday, September 19, 2010

Mail Art Round Robin Zine

Hi All, Thanks for coming. I decided to use my blog to host the ZMACS Round Robin Mailart Zine Project so everyone could actually see what my intentions are for the swap. The examples below are the two test pieces that I mailed from Massachusetts to California and The UK. They both made it with no problems so I definitely think this swap is doable. I'm sorry, I loaded the pictures in backwards order (one of these days I'll do it right the first time). :)


I did a collage on one side and used the other side for a note and the address.


To mail the fat postcard I put a piece of packing tape on each of the three open sides.


I took five pages of 110 lb. 8 1/2 x 11 cardstock, folded them in half and sewed them together down the middle.


Tuesday, April 20, 2010

Creating Fabric with SuperSolvy

I had promised some Flickr friends that I would post a tutorial for making fabric with SuperSolvy ages ago...I finally did it!

Step one is to cut 2 sheets of SuperSolvy (the dissolvable interfacing available at places like Joann's). I found that about 12" by 12" is a nice manageable size.

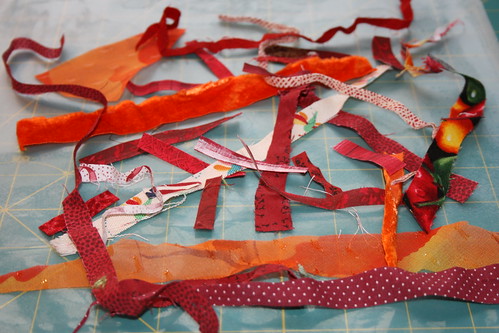
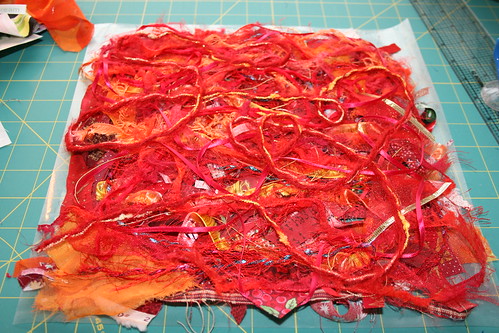
Step Two: Cover one sheet of SS with lots of fabric bits, yarn, lint, wool roving, silk cocoons, and any other little fabricy bits you might have.
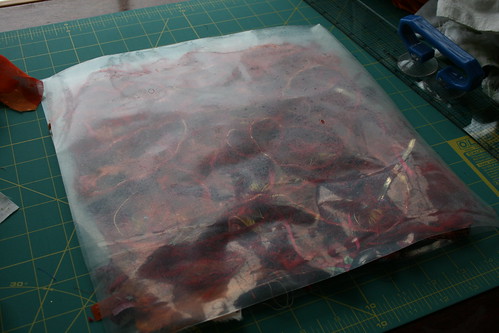
Step Three: Once you have covered your first piece of SS with fabric bits, cover it with the second piece of SS and pin it well.


I'm not sure how this picture got out of order...oh well!


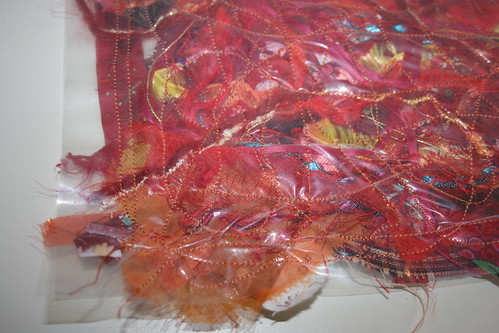
Step Four: Take your sewing machine for a drive!! Sew all over the sandwich making sure to catch all the bits in your stitching.


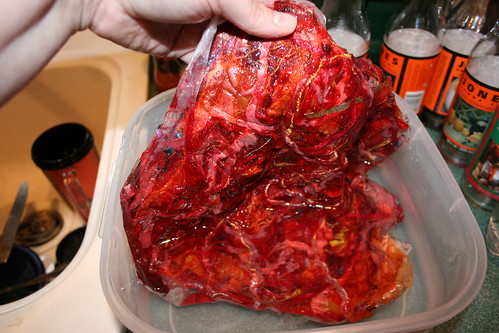
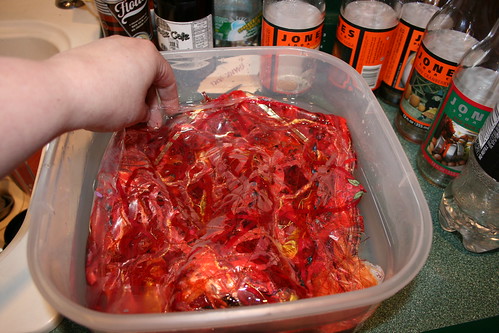
Step Five: Following the directions on the SuperSolvy package dissolve away the stabilizer. I like to do this in a seperate container so I can dump the water outside. It isn't good to dump your gooey water down the drain.


Keep swishing it around in your warm water until all the sticky stuff is gone.


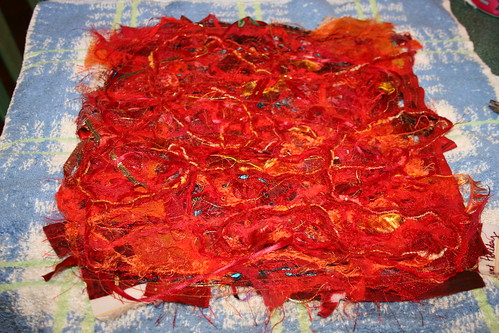
Step Six: Lay your new fabulous handmade fabric out on a kitchen towel to dry.


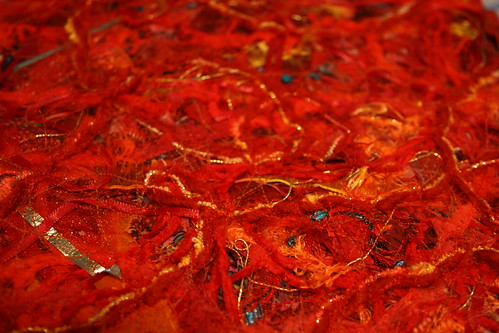
Voila! Once it dries it is ready to be used in any of your wonderful projects. I have used my own fabric to make postcards, ATC's, and a purse.
Have fun!


Saturday, September 6, 2008

Happy Birthday to Me!!


Today is my birthday and I have already been at the sewing machine playing! I just whipped up this postcard for a swap-bot swap. It is Snippets of my life cut into Scalloped Squares then Sewn with a Spiral. Now maybe I can get dressed..hee hee..maybe not!
More later....