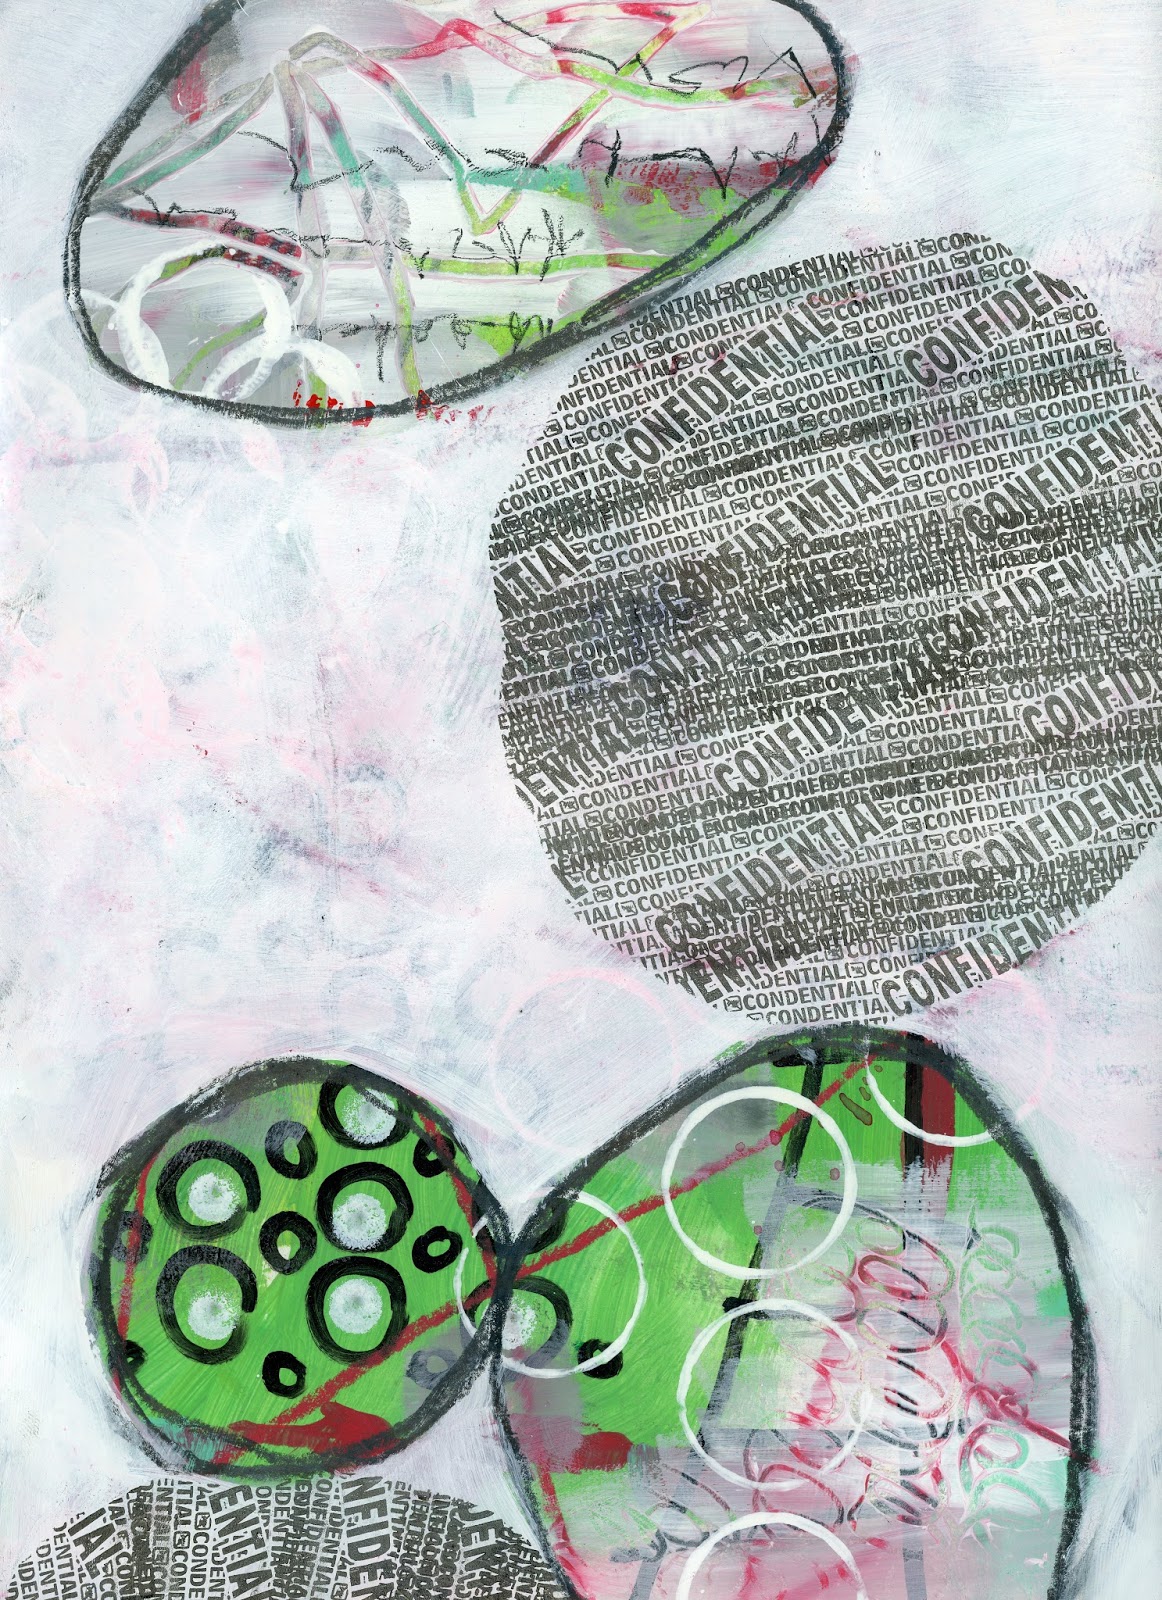
I am loving this class so much that I'm chomping at the bit on Monday night knowing that I have to wait until Wednesday for the next lesson! Then Wednesday morning I managed to do a few minutes of painting before I head off to work.
I gave myself challenges as I worked through the shape exercises. Some are successful, some not so much. I'm totally okay with that though. It's all part of the process....and I haven't even pulled out the gelli plate yet!
It all started out with a riot of color and shapes. #1 started out with the black circle that I had made with the gelli plate a while ago. Then I added the pink masked shape with a stencil over it. Next came orange marker, oil pastel, collage, graphite and a piece of painted tape.
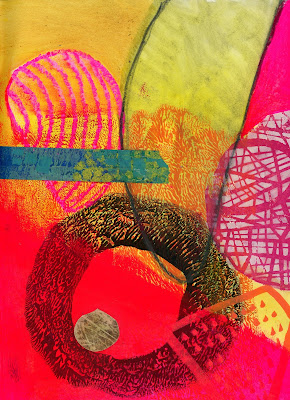 |
| 1 |
Number two started over a previously painted orange background. Collage and free-hand painted orb. I was holding this the other way, but my husband insisted it was upside-down... :)
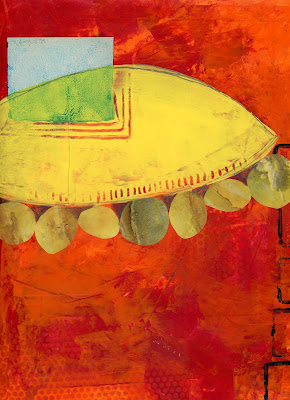 |
| 2 |
After the riot of color I forced myself to try something more subdued. #3 has a negative space shape, collage and the pink circle is straight paint.
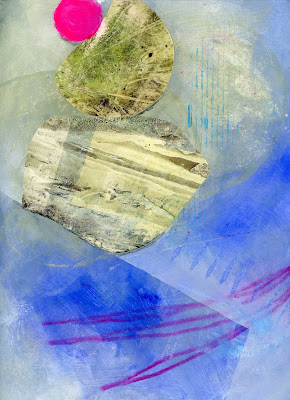 |
| 4 |
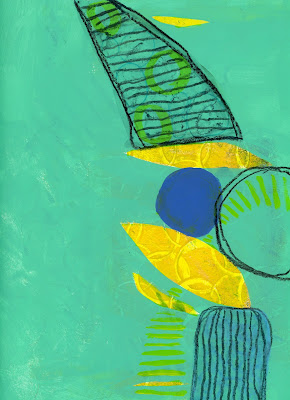
The yellow leaf shapes in #5 are negative space. I tried to not add too many different colors to this one.
 |
| 5 |
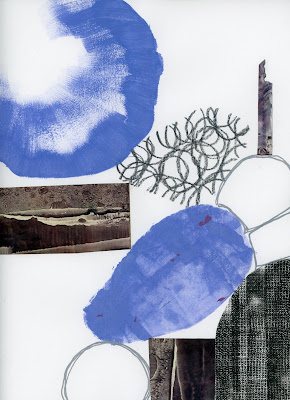
At this point, I went back to re-read the lesson assignments and realized I needed to force myself to play with a neutral color palette. For #6 I tried to add a lot of shapes, but not a lot of color. It works....
 |
| 6 |
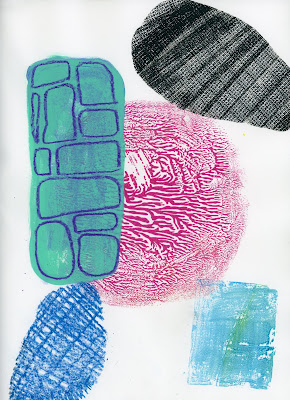
Then I fell back into a bunch of color, but created the shapes differently.
 |
| 7 |
#8 is my true neutral and I love it! Collaged triangle of citr-solv'd National Geographic, a tea bag, and a piece of paper I created. Simple is so effective, but I have trouble stopping.
 |
| 8 |
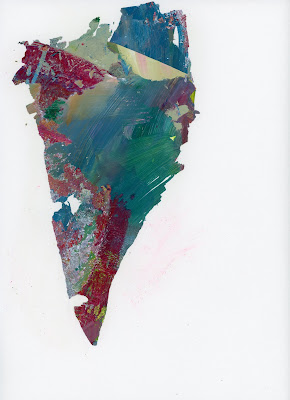
#9 is as simple as it gets...The shape was peeled off my palette. I don't want to add more and wreck it.
 |
| 9 |
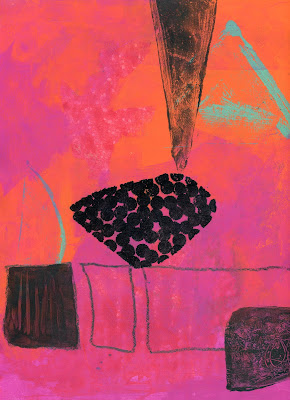
My personal challenge for #10 was to only add black shapes to the super colorful background.
 |
| 10 |
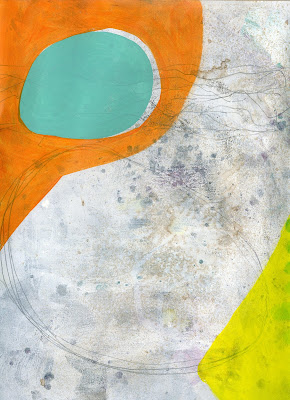
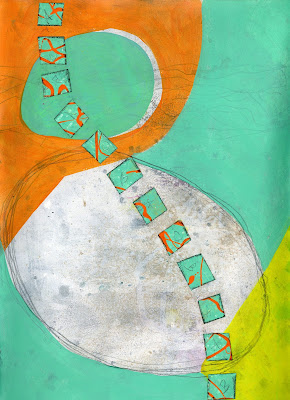
I thought I was done with #11 and had scanned it. It floated back to the top of the pile and I defined my big shape more. Then I realized it could use a contrast in shape size so I added the little collaged squares.
 |
| 11-Before |
 |
| 11-After |
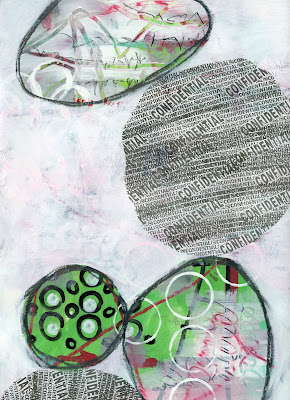
#12 is negative shapes and rolling security stamp through a stencil.
 |
| 12 |
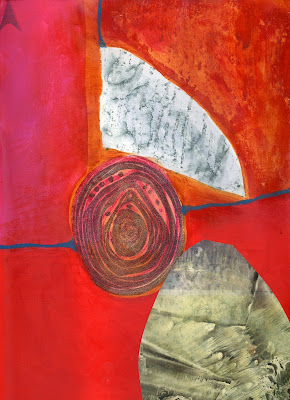
#13 has just three shapes in three different methods-Collage, ghost image pull from another piece, and a homemade foam stamp.
 |
| 13 |
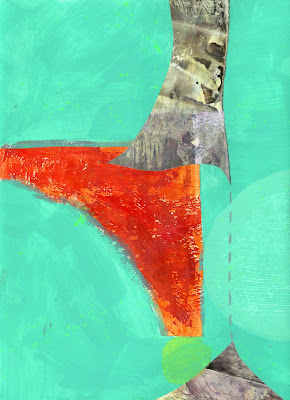
One of my final challenges was to use irregular shapes. It is something that I struggle with. Irregular shapes just seem wrong to me, but I like them in #14.
 |
| 14 |
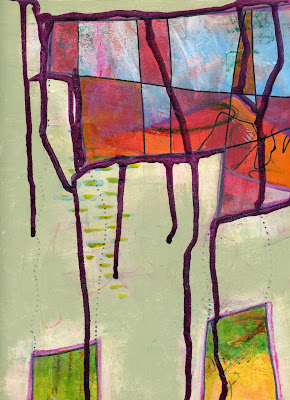
For #15, I worked a grid over a previously painted page and then created negative shapes. Squares are also not my go-to shape so I have to work extra hard to include them.
 |
| 15 |
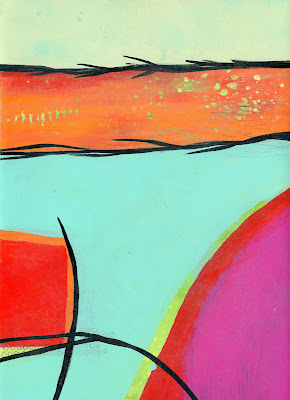
These last two are pieces that I developed to the point that I think they are finished pieces.
#16 feels very Seuss-ical to me, especially that critter arm reaching across the top.
 |
| 16 |
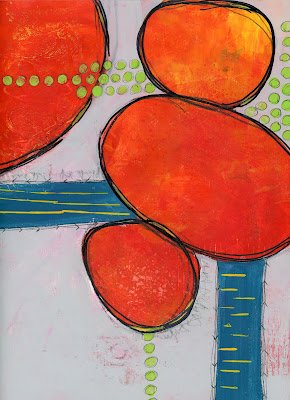
After living with a house full of engineers for so long I find that floating shapes just need to be grounded.I love the tension of rocks just about to fall...
 |
| 17 |
I try keeping the challenge of varying the shapes in my head and trying new things on each piece. Creating so many pieces definitely gives me a chance to keep pushing.
How many days until the next lesson????